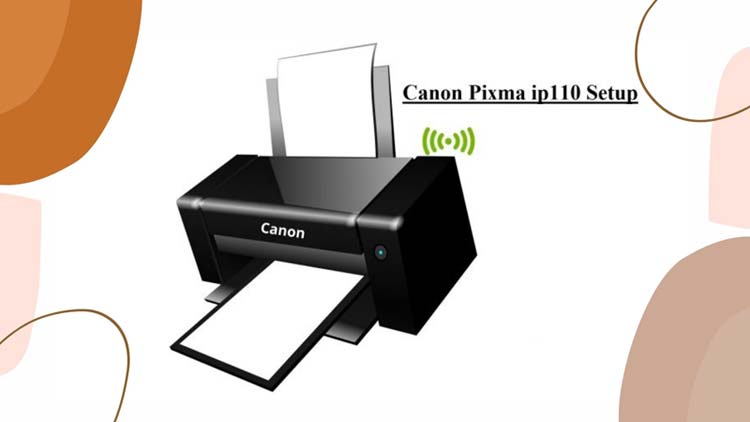
Canon Pixma IP110 device is a shapely multifunction printer that permits users to connect to a computer without wire. Therefore, to take benefit of its eely print quality, the first thing you require to set up your printer properly. Therefore, it’s essential to understand the canon ip110 wireless setup configuration process.
The effortless way to configure your canon ip110 setup wifi network is to use the WPS connection method. There are various conditions to consider before using configuration measures. These are mentioned below:
- The router needs to have a WPS switch.
- The network must require to adhere to the WAP security protocol.
Then you may do the under-mentioned:
- First of all, check if the printer device is turned on.
- Press and hold the wireless switch for some seconds before the white power indicator flashes light.
- Press the WPS switch on the router and expectation around 2 minutes.
The printer device will now begin searching for an available wifi network and you will view that the blue Wi-Fi indicator is flashing light. When the canon printer successfully attaches to the sender community, the blue and white pointer will stop blinking and remain lit.
Bluetooth Setting Configuration for Canon ip110 setup:
You must now ratify that the printer has been successfully appended to the Bluetooth network. To check this, you may print the printer’s system settings (if you want). Here are the steps you can take to obtain this:
Press the “Resume / Cancel” switch and then hold it until the white power indicator light blinks six times.
Then you will deem that the network information page will be printed. Now ratify that “Link” suggests “Active” and also the SSID service set ID displays the right sender community ID. Now you require to put the Canon IP110 printer driver and (App) application. If you don’t have the establishment CD that came with the printer device, you can download it from the official Canon printer website.
How do I establish the software and driver using CD-ROM?
To perform this establishment process, you can go through the steps mentioned below:
Step 1:
First, teem the CD-ROM into your computer’s CD-ROM drive and command the establishment. Double-click “MSETUP4.EXE”.
Step 2:
When the first begin screen is displayed, press Next. Then choose “Wireless LAN connection” as the connection area and click Next.
Step 3:
Then make certain the ip110 printer is on and the power-on indicator is on. Click Next. The software will now find an available network for the device. Make certain that the “Printer settings cannot be found in the list” choose is selected and click/push Next.
Step 4:
Now begins the installation procedure of the Installation Guide. Push the following switch to continue.
When the “Connect through Wire-Free Configuration” screen appears, push and hold the Wi-Fi switch the printer until the white power indicator light blinks two times. Click Next.
Step 5:
Then ratify that the blue Bluetooth indicator light is flashing speedily and the white power indicator is on.
Now configuration. The network link is temporarily disabled during establishment. Please wait forbearingly. When the printer links the entry point, press the following switch.
Step 6:
When the “Select home location” screen appears, choose your status and push Next to proceed. Then choose a field from the list of locations. Push Next.
Step 7:
After opening the “Software establishing List” screen, choose the software you want to put and click Next to continue.
If you aren’t certain which software you want to put, don’t worry about it. You can uninstall the file any time.
Step 8:
Then press the following switch on the “Permit all installation wizard process” screen.
Step 9:
The software is now configured properly. If the “Check Printer device Settings” screen appears during the establishment process, click the Detect switch again. The printer search will begin. This can take various minutes depending on the network configuration.
Step 10:
When the “Wi-FI Configuration” screen is Done, check the model name and SSID of the wifi community and push Finish. Then the “Recommended printhead catastasis” screen will open. Press Next.
Step 11:
You will now be ready to register the printer name. If you want to register it, press Next. Otherwise, press Cancel.
To take part in the expanded survey, touch the I agree on the button/switch. If not, press “Disagree.”
Step 12:
If the “Rating Print” screen appears and if you want to accept a Canon Pixma IP110 printer test printer, touch the Go switch. Otherwise, press Next.
When the “Installation complete” message appears on the screen, touch the Exit button to finish the installation process. That’s all. These are all common measures for the IP110 Canon Pixma configuration.