
We can’t think to start or run any business without any online presence. It’s really important to create an online presence for your business that’s very helpful to boost your business. So, here you can get useful information that helps you to create a new website without invest any money.
Now, we are going to explore free website development with a custom domain, so if you want to run your business online or publish your personal website without spending money on it, then you must read this and create your website by yourself.
There are three main steps here that should be followed to create a free website with hosting & custom domain and run your business online –
- Download Free Template
- Register Free Domain
- Free Website Hosting
1. Download Free Templates
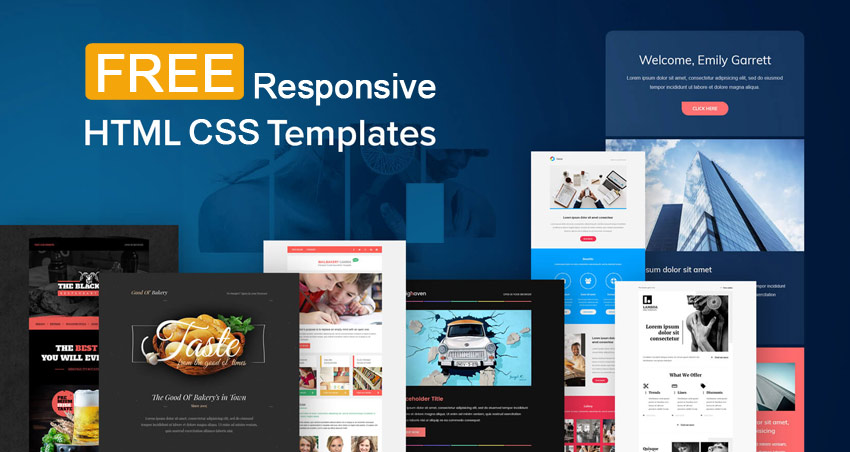
There are so many websites where you can get the latest HTML CSS templates with mobile-friendly layouts that are best suitable for your website. All templates are easy to edit or customize according to your requirements for your websites. You can use any HTML editor to modify the template. Now, choose the best suitable theme or template according to your business and download the template.
Free HTML Templates Providers:
These are some examples of the free website templates providers where you can get open source, creative commons, responsive, or totally free CSS HTML templates.
2. Register Free Domain
If you want to establish an online presence for yourself and your business, you need to register a domain name. A domain name is an address or URL where online users can access your website.
A good domain name makes your business more credible or helps to get more customers and exposure. Let’s discussed some useful tips which help you to choose the best suitable domain name for your business.
- Choose a keyword-friendly domain that helps you to get instant traffic related to your business and increase your SEO ranking.
- The domain name must be short and simple
- Avoid numbers, hyphens, and underscore from the domain name
- Make sure the domain name you’ve selected isn’t trademarked, copyrighted, or being used by another company
- The domain name must be easy to pronounce and spell
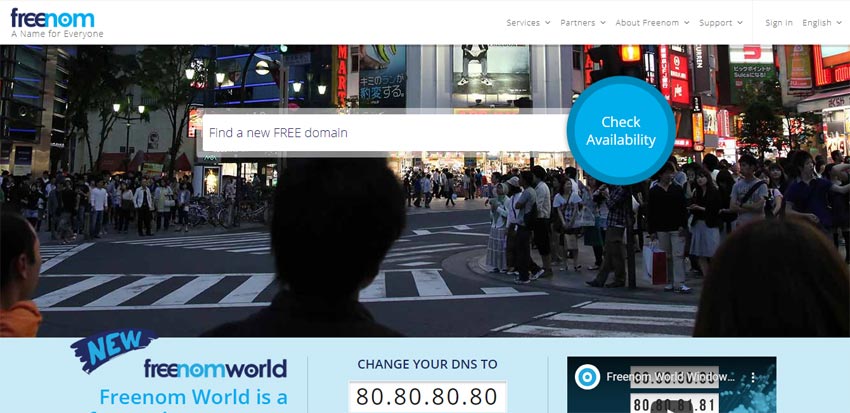
Open the Freenom.com website, which is a free domain provider. Free domains work exactly like any other domain name. You can use it for your website, your blog, email account, and more! You can choose to run your free domain with URL Forwarding, free Freenom DNS Service, or your own DNS (Name servers).
There are the following domain extensions available for free registration here:
- .TK
- .ML
- .GA
- .CF
- .GQ
Free Website Hosting:
Website hosting is a critical or difficult task because here multiple settings are required to manage & route the domain and host the website. Now here we are going to discussing the Amazon S3 webserver to host a free website.
Follow these steps to host the website on S3 Bucket:
- Create S3 Bucket with the domain name and make sure your bucket has publicly access permission. Upload your website template into the S3 Bucket.
- Go to Amazon Route 53 and clink on DNS management to create a hosted zone.
- Create a hosted zone with your domain name (Ex: mydomain.xyz)
- Go to the domain provider nameserver and replace all with AWS nameserver
- Go to the Amazon CloudFront and create CloudFront Distribution for Web with S3 bucket endpoint URL (ex: my-bucket.s3.us-west-2.amazonaws.com).
- Edit CloudFront Distribution and Add your domain name (mydomain.xyz) in place of Alternate Domain Name.
- Edit CloudFront Distribution and click on Custom SSL Certificate to enable SSL on your website.
- Go to the AWS Certificate Manager and Create an SSL Certificate for your domain or subdomain.
- Edit CloudFront Distribution and add Custom SSL Certificate.
- Now go back to the hosted zone and create A record for the website domain with Alias Target of CloudFront domain name.
- Wait, It may take some time.
- Open your domain URL in the web browser and check.